Assignment 4: Give it your best PLY
Due Monday, April 19, before midnight
The goals for this assignment are:
-
Implement an interactive model viewer using openGL 4.0+
-
Read and display meshes in PLY file format
-
Implement blinn-phong materials using shaders
-
Try importing your own models, and implementing your own effects and shaders
1. Getting started
Fork the repository at https://github.com/BrynMawr-CS312-2021/mesh-viewer
Follow the instructions in Readme.md to build and run the code.
2. Getting started
We will be using OpenGL to build our viewer.
Your basecode uses the GLM math library for vectors, points, and colors (all have type glm::vec3)
Make sure that you can build and run the examples from lecture. The examples from lecture can be found here.
3. A simple mesh
Modify simple.cpp to draw a simple pyramidal mesh using vbos and an index buffer (here is a good reference).
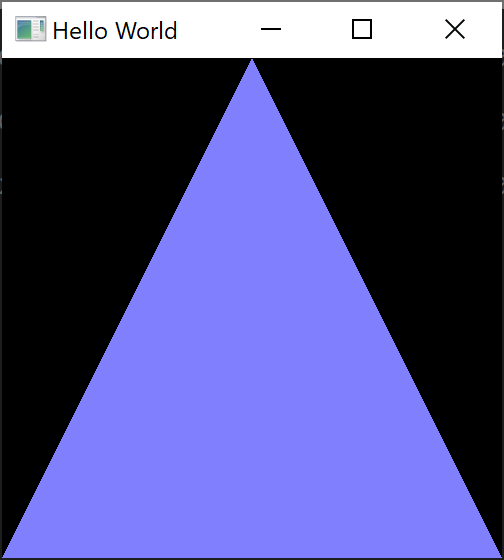
You are given basecode which renders one triangle. To run it from your build directory on windows
build $ ../bin/Debug/mesh-simple.exeand on mac
build $ ../bin/mesh-simpleYou are given an implementation that draws a single triangle with corners
(1,-1,0.5), (-1,-1,0.5), and (0,1,0.5). You are also given a shader, unlit, that colors
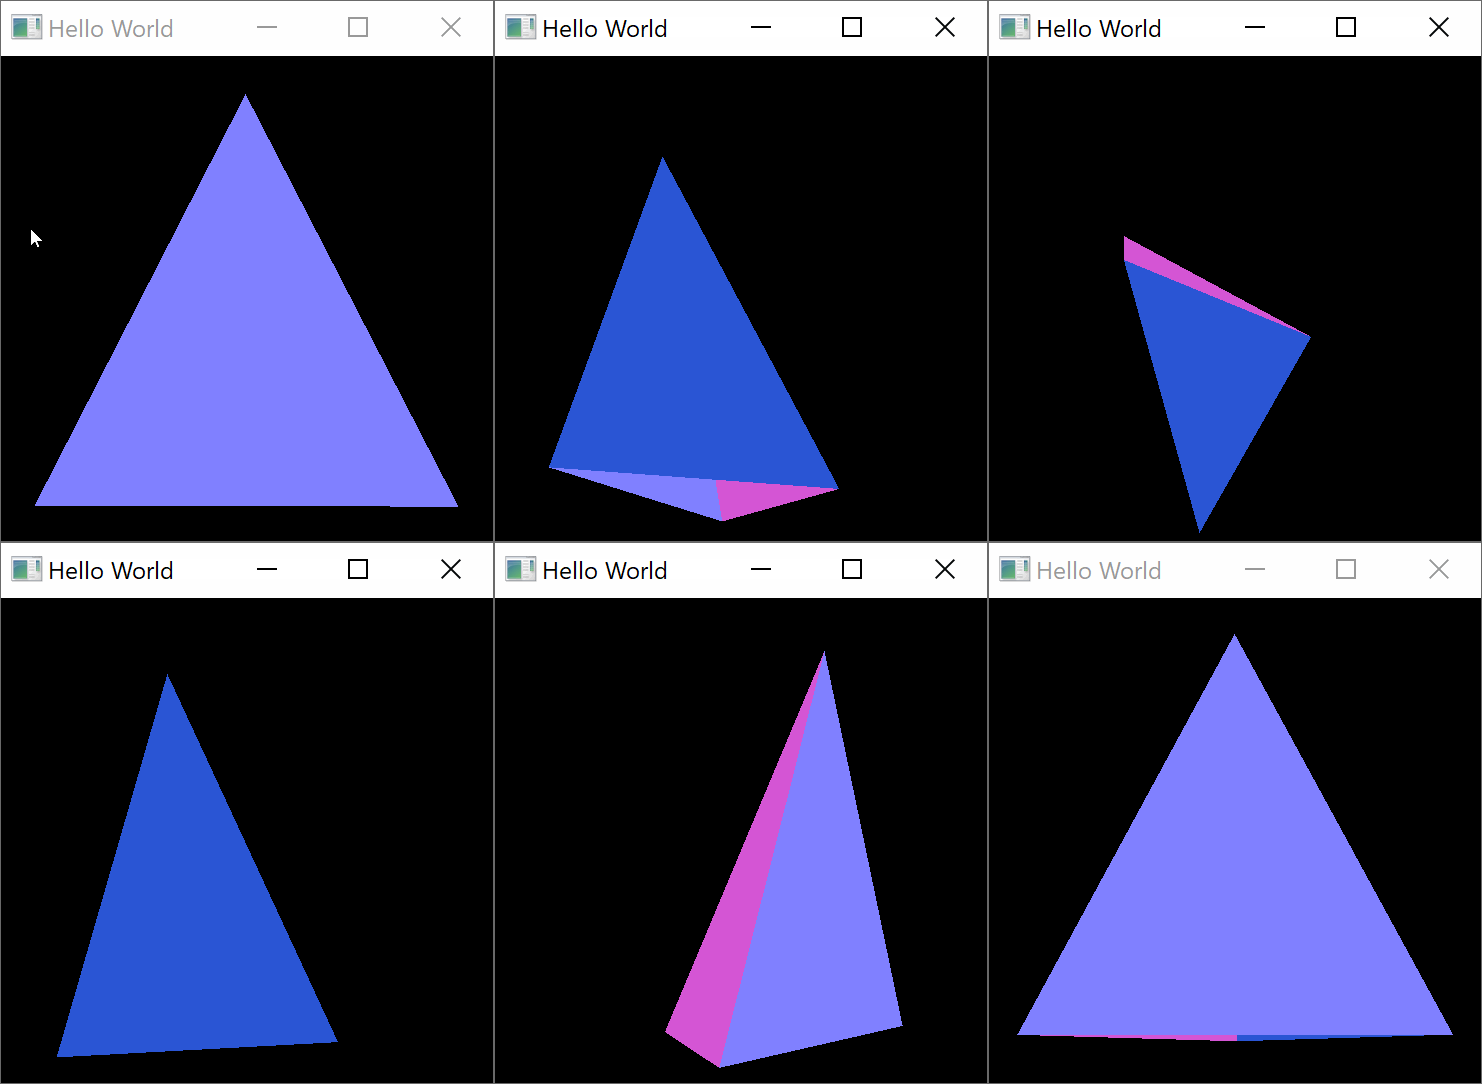
each vertex based on its normal. Add two more triangles with the following
coordinates:
-
(-1,-1,0.5), (0,-1,-0.5), and (0,1,0.5)
-
(0,-1,-0.5), (1,-1,0.5), and (0,1,0.5)
This example uses flat shading, so we will repeat the vertices for each triangle. Your new positions buffer will have 9 vertices (27 floats) in it; your new normals buffer will have 9 (27 floats) directions in it; and your new indices buffer will have 9 indexes in its. The number of triangles will now be 3.
Your application is using the default orthographic projection and camera.
-
Modify your program to use a perspective projection.
-
Modify your program to support a camera that rotates around the origin with the mouse.
-
Dragging with the left mouse down should rotate the camera around the origin.
-
SHIFT+Drag with the left mouse button down should move the camera towards and away from the origin
-
Perspective projection
Define a mat4 to hold the projection. Use the function glm::perspective
to set the properties of the projection.
Add a uniform mat4 variable, mvp, to your vertex shader, unlit.vs. This variable will
hold the model-view-projection matrix from your application.
Modify simple.cpp to set the value of mvp using glUniformMatrix4fv. See the class example,
triangle-shadermvp.cpp for an example.
Camera controls
Define a mat4 to hold the current camera orientation and position. Use the function
glm::lookat to set its properties. To implement a camera that orbits around the origin:
-
lookatposition will be (0,0,0) -
lookfromposition should rotate horizontally around the Y axis and elevate vertically around the XZ plane. This is most easily implemented using polar coordinates. Letazimuthbe the rotation around the Y axis,elevationbe the vertical rotation, anddistby the distance from the origin. Then the positionlookfromis
x = Dist * sin(Azimuth) * cos(Elevation)
y = Dist * sin(Elevation)
z = Dist * cos(Azimuth) * cos(Elevation)
-
In the
cursor_position_callback, compute the change in mouse movement from the last frame and use the changes in the horizontal and vertical directions to modifyAzimuthandElevation. When SHIFT is pressed, modifyDist. -
Modify your program to send the combined view and projection matrices to your shader
4. Mesh viewer
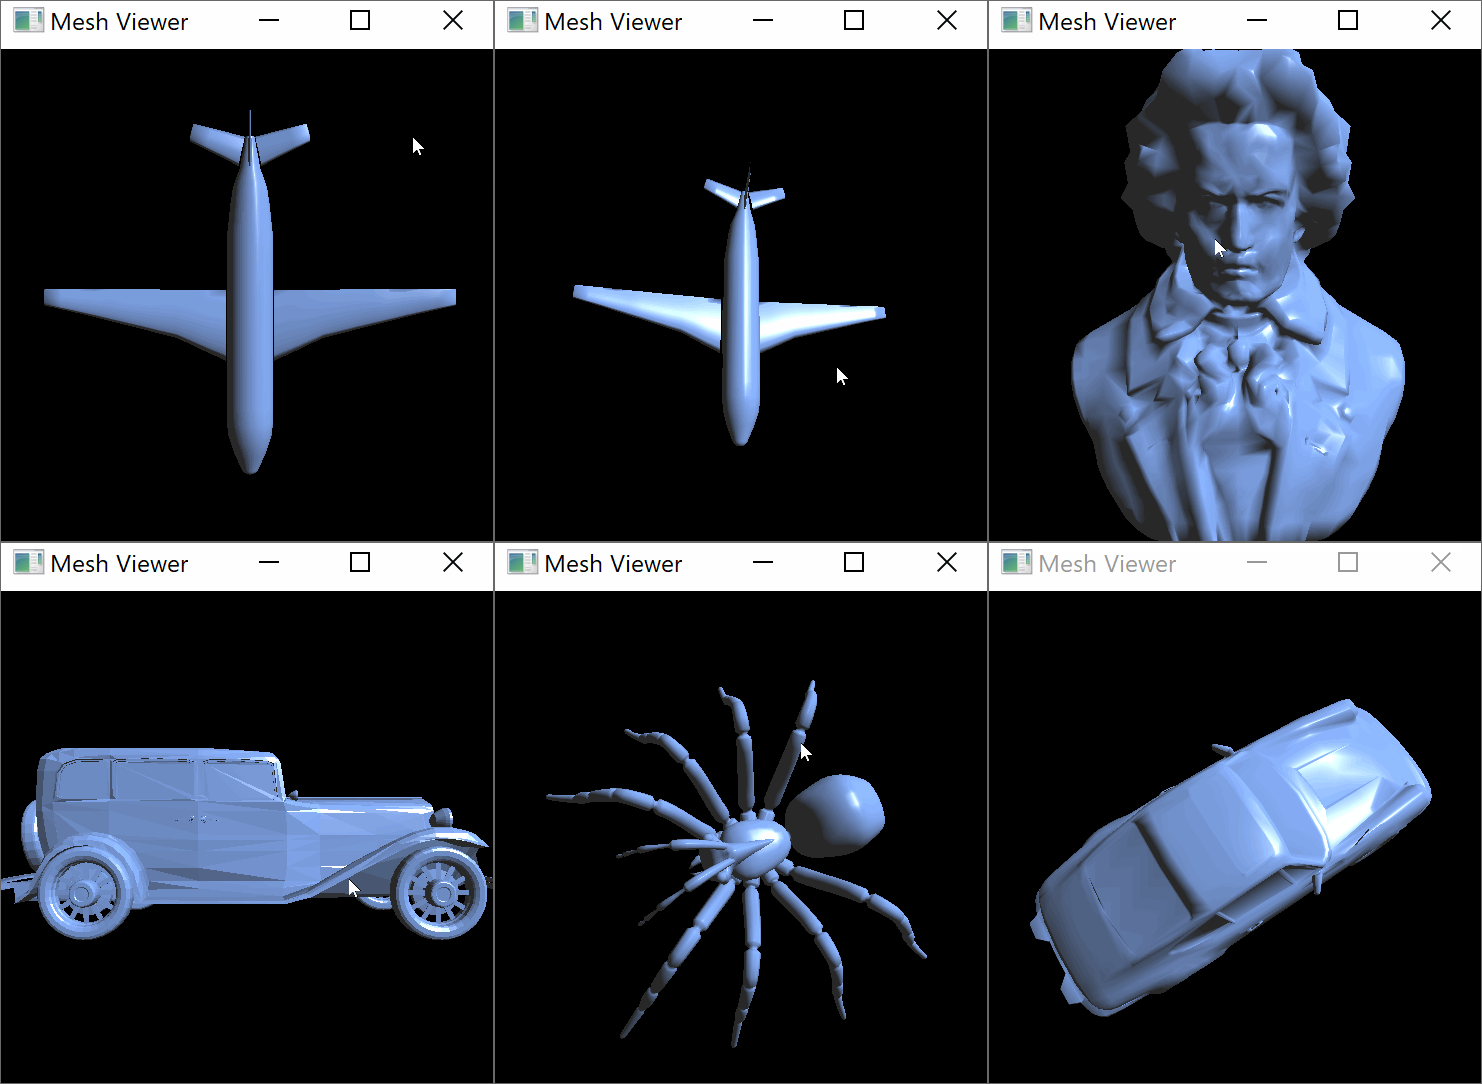
Implement an application that can preview the meshes in the /models directory.
Controls
-
n or N goes to the next model
-
p or P goes to the previous model
-
Left-drag orbits the camera around the model
-
SHIFT-left drag zooms in and out
Features/Requirements
-
When loading a model, your must ensure that the model fits inside in the view volume. You can either scale and translate the model to make it fit, or modify the camera and projection (your choice).
-
Your model should be rendered with phong-blinn shading. Implement your shader in
phong.vsandphong.fs -
Your viewer should support the same camera controls as the simple mesh viewer
-
Your Mesh class should not leak memory
You are given basecode for this assignment. Window and openGL features are in meshviewer.cpp.
Your mesh code is in mesh.h and mesh.cpp.
You are given basecode which renders one triangle. To run it from your build directory on windows
build $ ../bin/Debug/mesh-viewer.exeand on mac
build $ ../bin/mesh-viewer4.1. Meshes
Implement a class Mesh that is capable of loading PLY files.
Your mesh should
-
represent triangles using vbos and indexed lists
-
load the PLY file format
-
compute the axis-aligned bounding box for its vertices. An axis-aligned bounding box consists of
-
the minimum values of x, y, and z
-
the maximum values of x, y, and z You can compute the minimum and maximum values when you load the PLY file.
-
The mesh class must implement the following API:
-
Mesh()
-
~Mesh()
-
loadPLY(const std::string& filename)
-
getMinBounds()
-
getMaxBounds()
-
numVertices()
-
positions()
-
normals()
-
numTriangles()
-
indices()
Feel free to add additional methods as needed.
The PLY file format
ply
format ascii 1.0
element vertex 4
property float32 x
property float32 y
property float32 z
property float32 nx
property float32 ny
property float32 nz
element face 3
property list uint8 int32 vertex_indices
end_header
-0.001 0.002 0.070 1.000 0.000 0.000
-0.009 0.044 0.088 1.000 0.000 0.000
-0.01 0.033 0.09 1.000 0.000 0.000
-0.023 0.031 0.082 1.000 0.000 0.000
3 0 1 2
3 2 3 1
3 3 0 2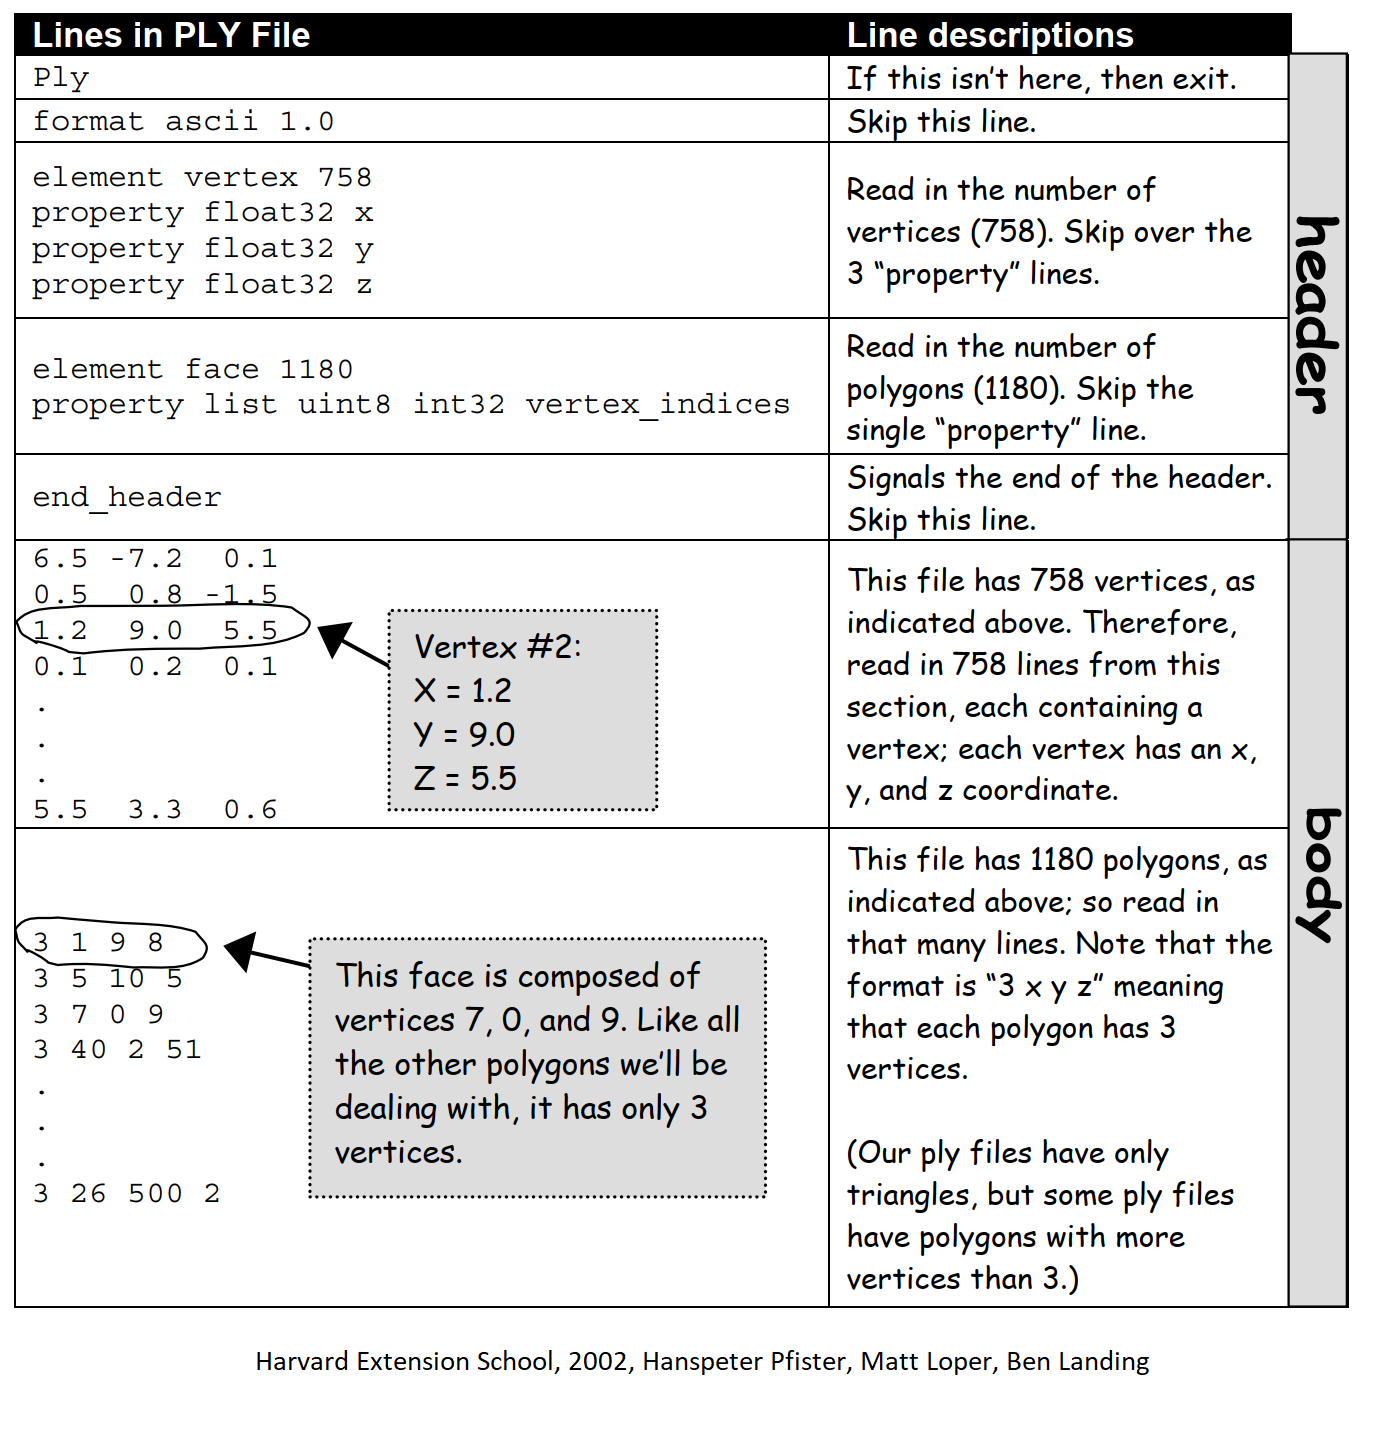
4.2. Shading examples
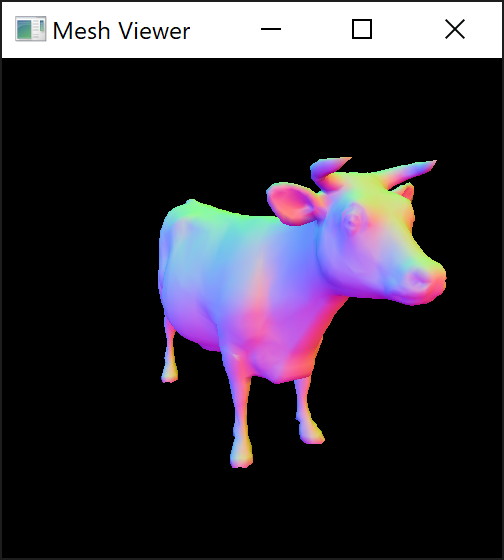
Using the unlit shader (default)
Using per-vertex phong shading
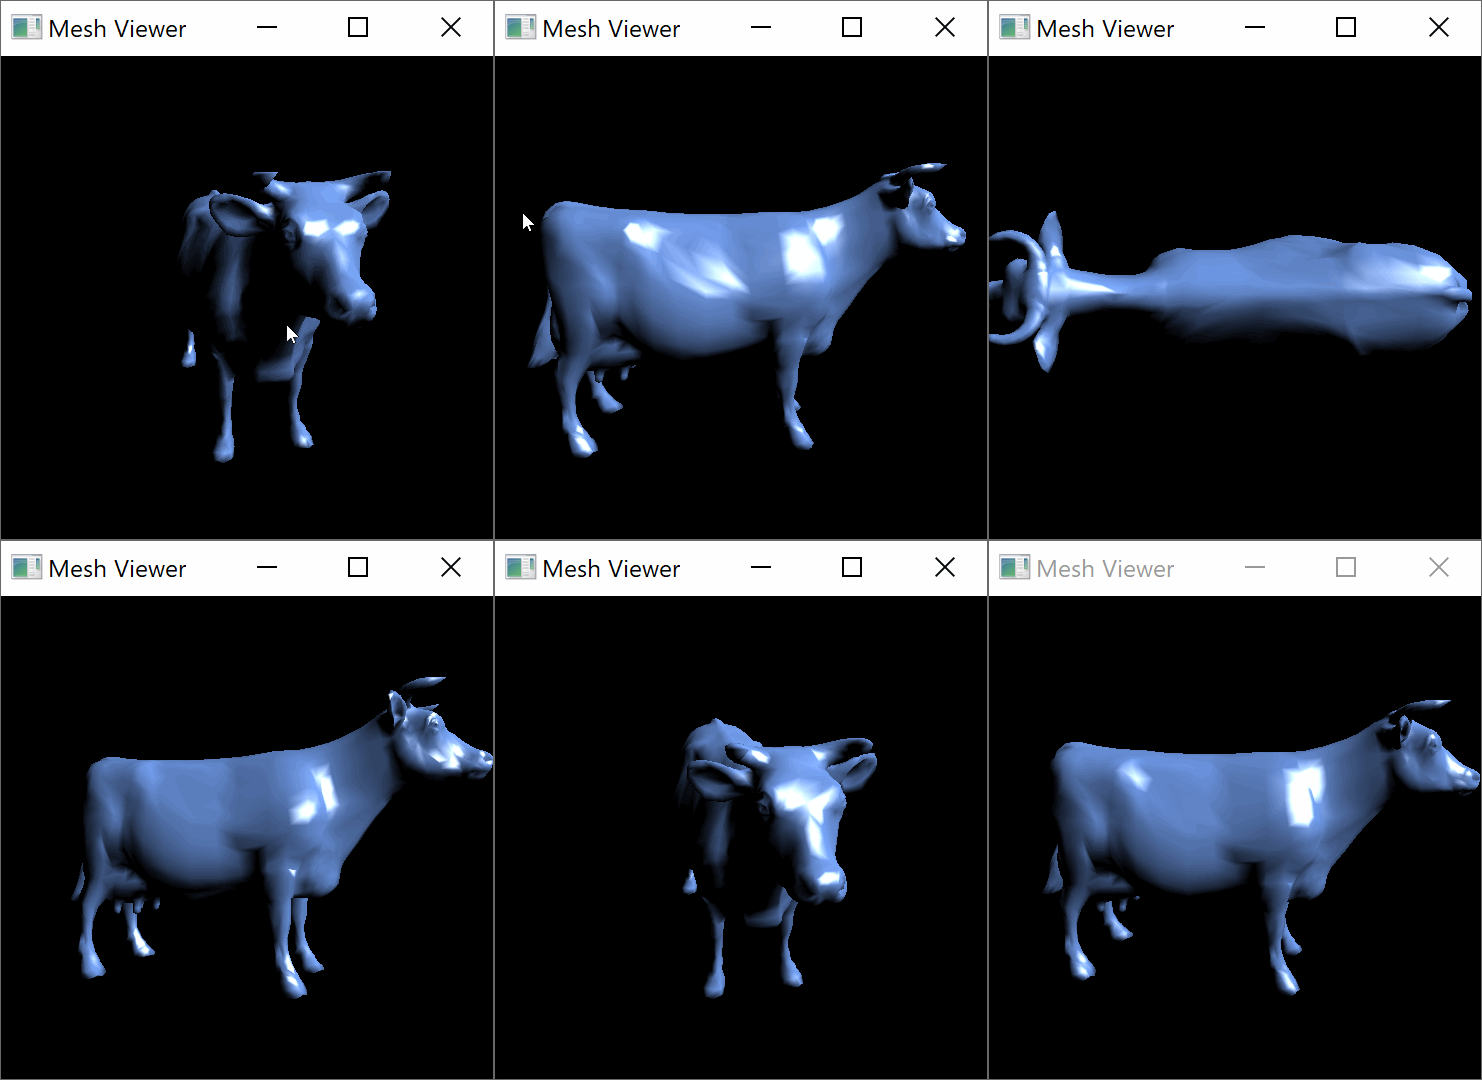
Using per-pixel phong shading
5. Mesh demo
Implement your own mesh demo in the file meshdemo.cpp.
Add at least one unique feature to your viewer.
You can also add new files for your viewer. You can export PLY files from Blender. Try finding a free model online and converting to PLY, or even create a model of your own! Be sure to credit the artist if you use someone else’s work.
Ideas for unique features:
-
Implement your own shader: you might try toon shading, procedural textures, or color effects
-
Support textures. Load UV coordinates and pass them to your shader along with an image.
-
Animate the vertices of the model in your vertex shader
-
Add a feature to animate the light source
-
Implement per-pixel lighting
-
Implement features that allow a user to edit a model
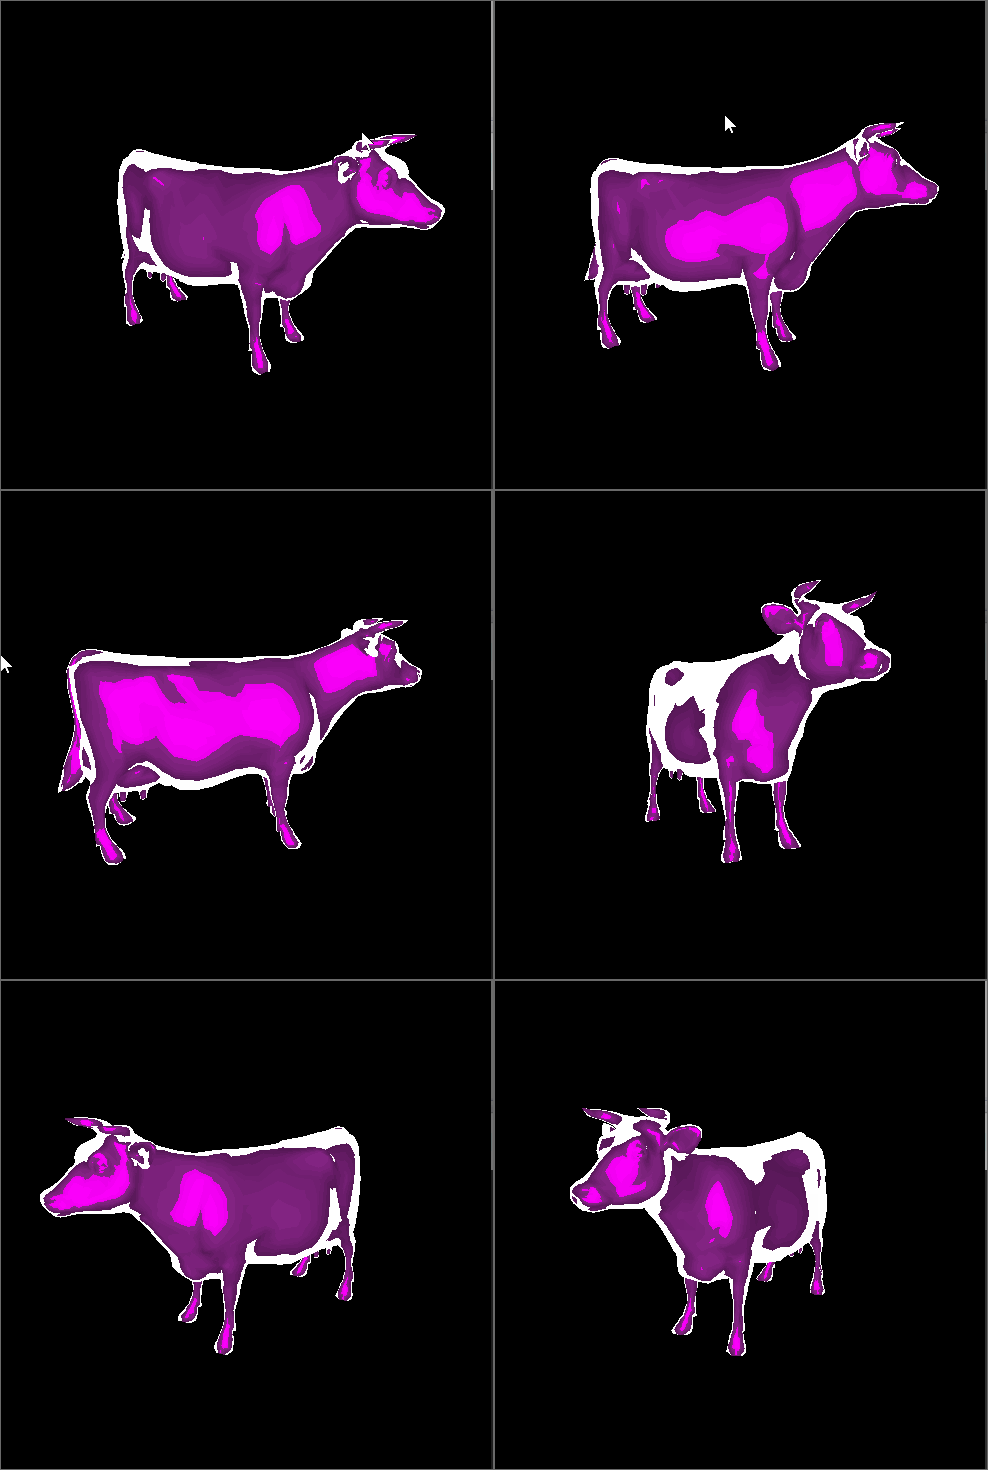
Below is the cow with toon shading
6. Update Readme.md
Update Readme.md to include documentation on your unique features and images created with your mesh-viewer.
7. What to hand in
-
Your code. Make sure your code is checked into github
-
One or more images created using your software
-
Update
Readme.mdso it includes a writeup of the features your application supports. Make sure to include images. Be sure to point out any original features that you implement.