Assignment 2: Green eggs and Bresenham
Due Thursday, March 18, before midnight
The goals for this assignment are:
-
Implement an canvas class capable of drawing lines and simple shapes
-
Implement a procedural artwork using your canvas class
1. Getting started
Fork the repository at https://github.com/BrynMawr-CS312-2021/canvas-drawer
Following the instructions in Readme.md to build and run the code.
2. canvas class
Implement a class canvas, which can draw lines and triangles on a raster image.
This class mirrors the APIs found in OpenGL 1.0 and Processing
See the beginShape
for an example that is similar to what you are building for this assignment.
The canvas class implements a state machine based api.
For example, the following code creates a canvas with size (100,100) and
draws a red line followed by a green line.
canvas drawer(100, 100);
drawer.background(0,0,0);

drawer.begin(LINES);

drawer.color(255,0,0);
drawer.vertex(0,0);
drawer.vertex(100,0);

drawer.color(0,255,0);
drawer.vertex(0, 0);
drawer.vertex(0,100);

drawer.end();
You are given basecode in canvas.h and canvas.cpp to use as a starting point.
You are also given a raster image class, ppm_image, capable of saving PNG images
and settings and getting pixel colors. Feel free to use your own ppm_image class from
the previous assignment.
You may add any supporting methods and member variables to implement your class. For example, you might want to add member variables to store the current primitive or color. Or you might want to add functions to draw lines and triangles.
2.1. Requirements
-
Your
canvasclass should implement the following methods:-
begin(PrimitiveType type)indicates that the following vertices correspond to a shape -
end()indicates that all vertices have been specified and we should draw the primitive -
vertex(int x, int y)specifies a vertex. Vertex positions should be clipped to the size of the raster image. -
color(unsigned char r, unsigned char g, unsigned char b)specifies a color. All vertices specified after this call should have the given color. -
background(unsigned char r, unsigned char g, unsigned char b)fills the canvas with a given color
-
3. Walkthrough and tips
Use draw_test.cpp to test the core functionality of your canvas
3.1. Line drawing
drawer.color(255, 255, 255);
test_line(drawer, 0, 50, 100, 50, "horizontal-line.png");
test_line(drawer, 50, 0, 50, 100, "vertical-line.png");
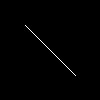
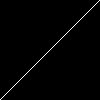
test_line(drawer, 0, 0, 100, 100, "diagonal-line-1.png");
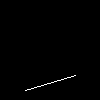
test_line(drawer, 25, 10, 75, 25,  "h-lessthan-w-line-1.png");
test_line(drawer, 25, 25, 75, 75,  "w-lessthan-h-line-1.png");
test_line(drawer, 0, 100, 100, 0, "diagonal-line-2.png");
test_line(drawer, 25, 90, 75, 75,  "h-lessthan-w-line-2.png");
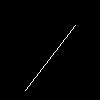
test_line(drawer, 25, 90, 75, 25,  "w-lessthan-h-line-2.png");
3.2. Interpolated line colors
// test line interpolation
drawer.background(0, 0, 0);
drawer.begin(LINES);
drawer.color(255, 0, 255);
drawer.vertex(0, 0);
drawer.color(0, 255, 255);
drawer.vertex(100, 100);
drawer.end();
drawer.save("line-color-interpolation.png");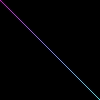
3.3. Triangles
// test triangle with interpolation
drawer.background(0, 0, 0);
drawer.begin(TRIANGLES);
drawer.color(255, 0, 255);
drawer.vertex(10, 0);
drawer.color(0, 255, 255);
drawer.vertex(90, 50);
drawer.color(255, 255, 0);
drawer.vertex(10, 90);
drawer.end();
drawer.save("triangle.png");
3.4. Composite shapes
// test quad with interpolation
drawer.background(0, 0, 0);
drawer.begin(TRIANGLES);
drawer.color(255, 0, 255);
drawer.vertex(10, 10);
drawer.vertex(10, 90);
drawer.vertex(90, 90);

drawer.color(255, 255, 0);
drawer.vertex(90, 90);
drawer.vertex(90, 10);
drawer.vertex(10, 10);
drawer.end();
drawer.save("quad.png");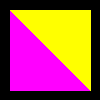
4. Implement your own features
Implement at least 4 additional canvas features. Feel free to come up with your own ideas. Here are suggestions:
-
Make it easy for the user to draw different shapes
-
Circle: draw a circle with given position and radius
-
Rectangle: draw a rectangle with given center, width, and height
-
Star: draw a star shape
-
Flower, or other shapes using rose curves
-
-
Let the user set line widths
-
Add a point primitive
-
Support both filled shapes and outlined shapes
-
Support different blend modes, such as add, difference, and multiply
-
make it easy for users to specify gradients
-
Support alpha blending
5. Create a unique image
In the program, draw_art.cpp, use multiple effects to create one or more
unique images. Feel free to be creative and use operations from the previous
assignment. For example, additive blending can be used to create glowing
objects.
Make sure to use your custom operations from the previous question in your artworks!! You will not get credit for operators which you don’t test and show work correctly!
Ideas for procedural patterns might be based on spirograph, random numbers and noise, gradients, or color palettes.
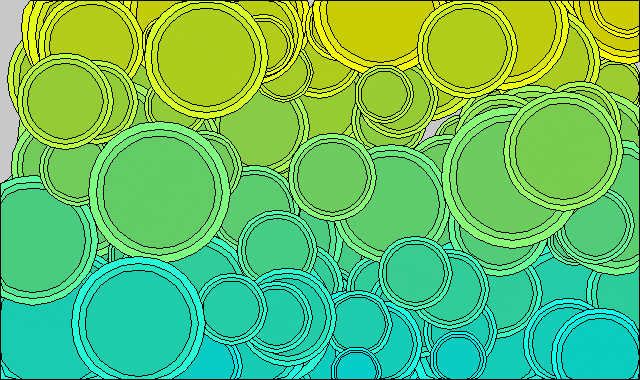
Below we create random circles and use the y position to determine its color using a gradient from yellow to cyan. This image also implements both a circle and circle outline.
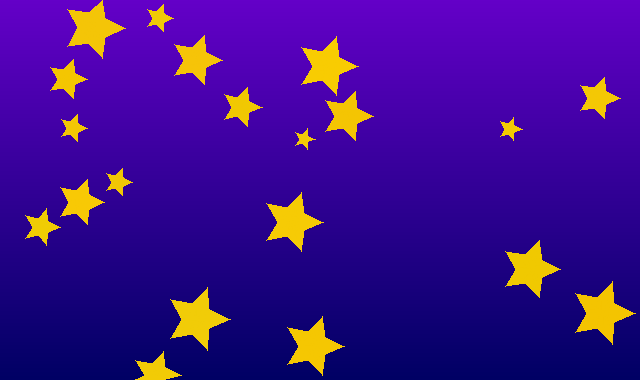
The image below creates random stars and colors the background with a gradient using triangles.
We can also use curves and flow fields to generate patterns. The following image draws line between two points which trace out a rose curve. We use additive blending with the current pixel color to do the coloring.
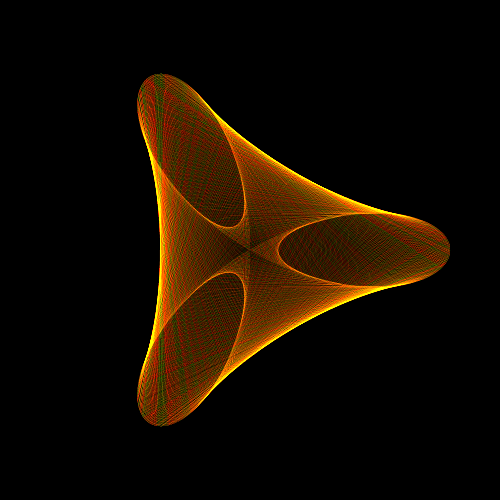
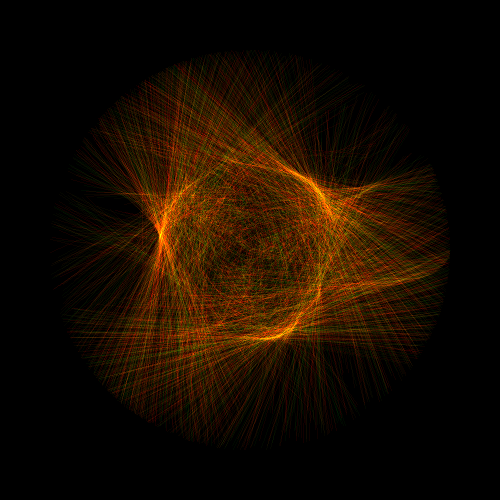
We add noise to the points to get other, more organic, shapes. For this type of effect, a semi-random number which varies smoother often gives better results. Below I use
float noise(float t)
{
   float v = sin(t) * 1175.5453123;
   return v - int(v);
}
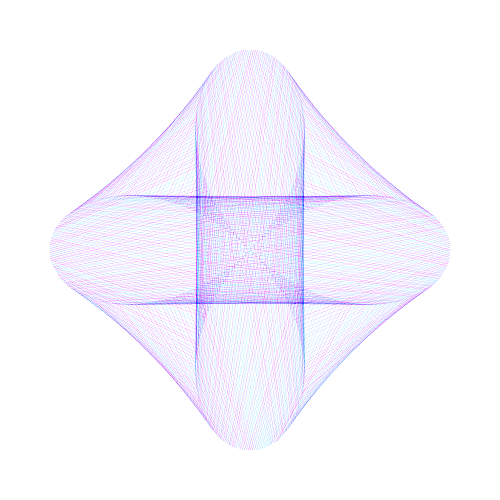
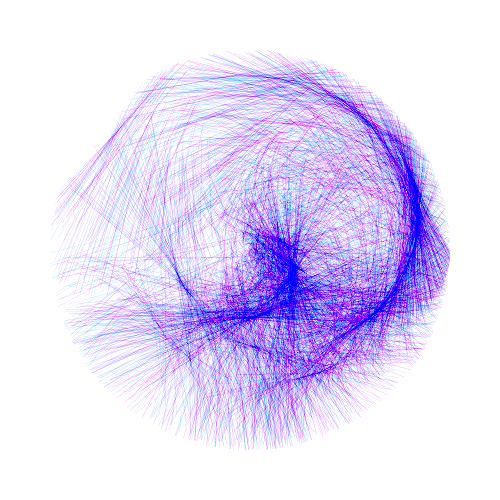
The examples below use "difference" blending with white.
6. Update Readme.md
Update Readme.md to include documentation on your unique features and art created with your class.
7. What to hand in
-
Your code. Make sure your code is checked into github
-
One or more images created using your software
-
Update
Readme.mdso it includes a writeup of the features your application supports